So back to this whole "shooting film" nonsense: I'm a fan. At this point it's more along the lines of having unprotected sex and just "hoping for the best." Sure, it's super exciting to do the thing, but the risk of incorrectly metering your light is incredible lower than a surprise family addition or a weird rash. There's also the the thing about not waiting nine months for your film to be processed. I could go on, but I'll just snip the analogy here and now.
Unfortunately Oklahoma City isn't teeming with photo shops and getting film developed isn't as easy as it would be in a larger market. Buddies of mine ship their film out to be processed, but they're better people than I am. Turns out in this situation I'd rather have the one marshmallow now instead of eating both later. The photo lab I'd stared using here in OKC to develop my film ran into some substantial delays and I started down the rabbit hole of developing my own color film at home. As a high school student twenty-something years ago, I'd taken a photography course and developed black and white film. We never did anything with color film, but it's the future now and I'd figured there'd be a YouTube tutorial or thirty that'd get me up to speed.
Thanks to the internet I put together a film processing kit plus the confidence to not blowup my house. Willem Verbeek's YouTube videos on developing were key in me actually gaining the confidence to try and pull it off, but Will Cobb's in-depth video was crazy helpful with the nuts and bolts of the process.
The worse part was waiting for the $200-300 in gear I'd ordered off Amazon to be delivered. There was a problem with the first round of plastic reels included in my Paterson kit being defective, but I was able to work out a hack while waiting for those to get replaced. I'll say too the amount of developing chemicals I'd ordered was twice as much as intended (got the two liter Unicolor kit instead of one liter) and the recommended bottles were smaller than I should've gotten (the four pack of 32oz dark amber glass bottles vs. an accordion style solid plastic bottle). Thankfully I can do basic math and use a calculator to split the chemicals in thirds to make the mismatched puzzle work.
It was nerve-racking getting used to spooling the film negatives by feel alone in a dark bag. Some of the tutorials I'd watched had dudes sacrificing an unused roll of film but I didn't want any part of that $12-15 of nonsense. I got somewhat comfortable with the spooling process after practicing in the light and then the dark bag with some previously developed negatives I already had. Those botched plastic reels – even with the hack – ended up creasing a few sections of my negatives and added some "character" to a few frames. Thankfully though most of the rolls I developed came out pretty well, especially considering how I'm just getting started. There was one roll I'd hoped to get more from that turned out a bit sour; pretty sure I'd botched the developing time on that one. Still, not bad in terms of the collateral damage I expected early on.
At this point I'm something like 6-8 rolls into developing my own film and it's much less daunting than expected. The startup costs weren't nothing, but considering how much money I was spending having someone else do it I'll end up ahead here pretty soon. I figure too the time I'm saving doing it myself will help with the learning curve of shooting on film.
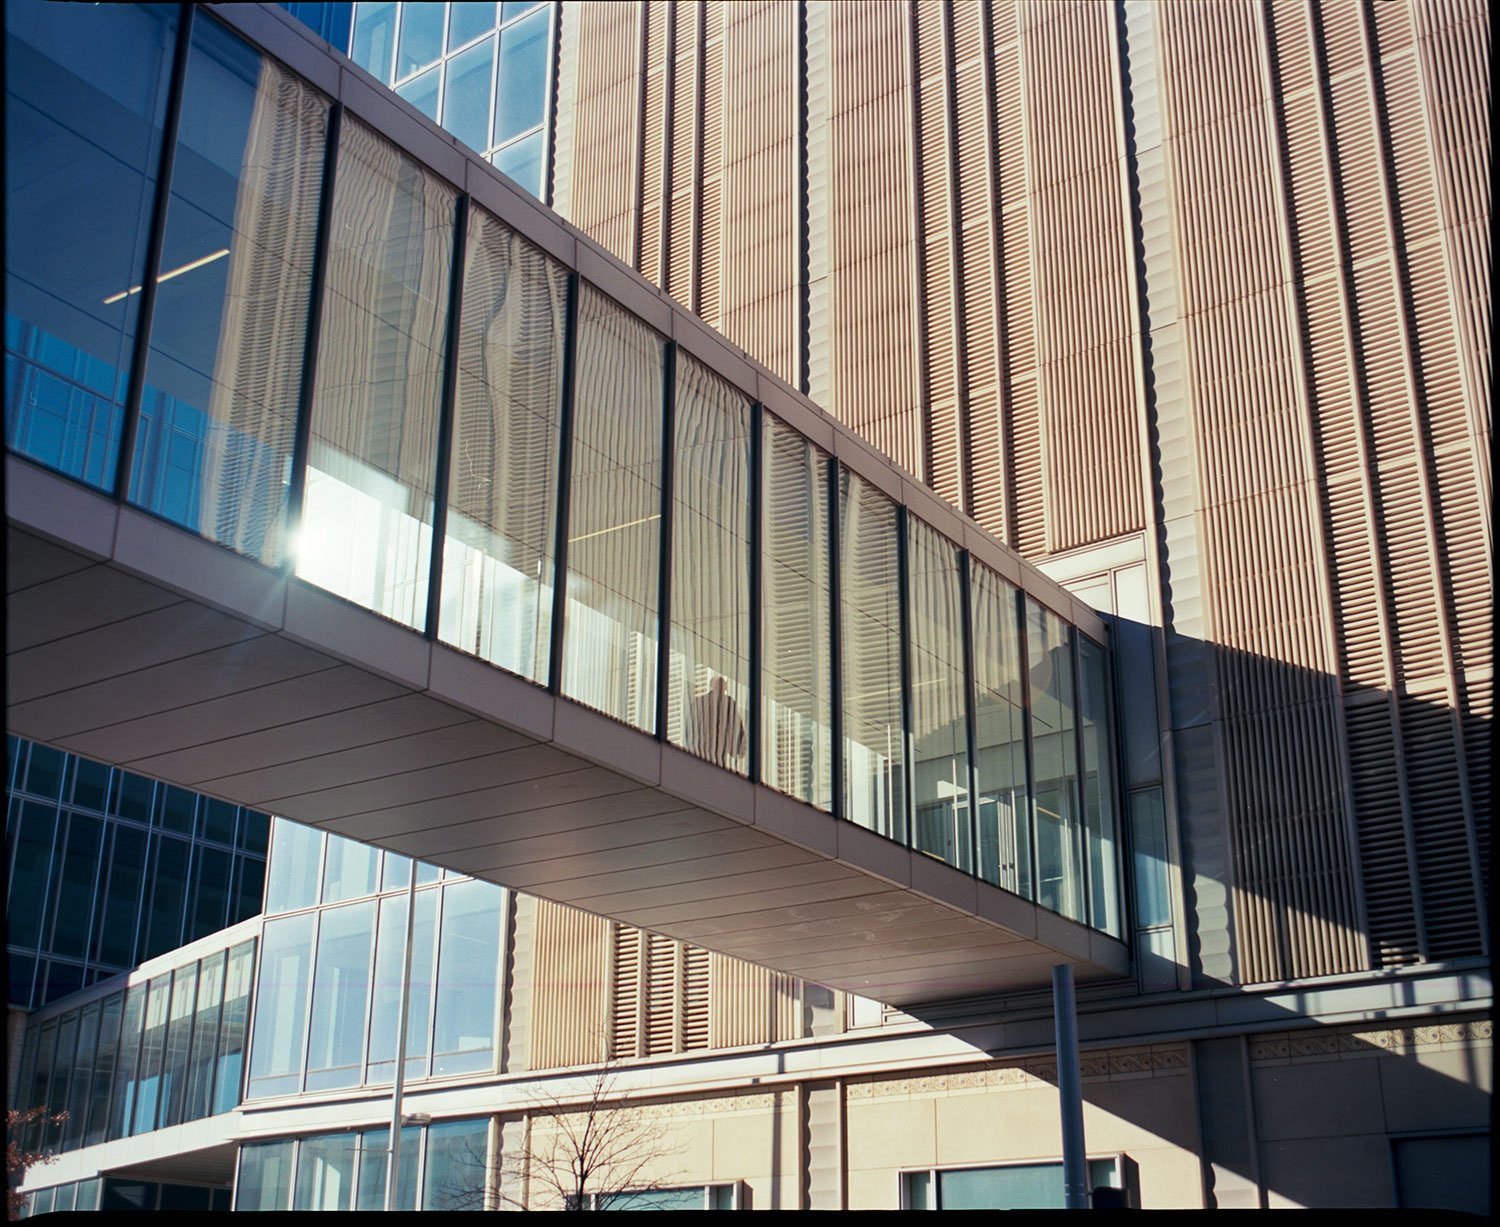
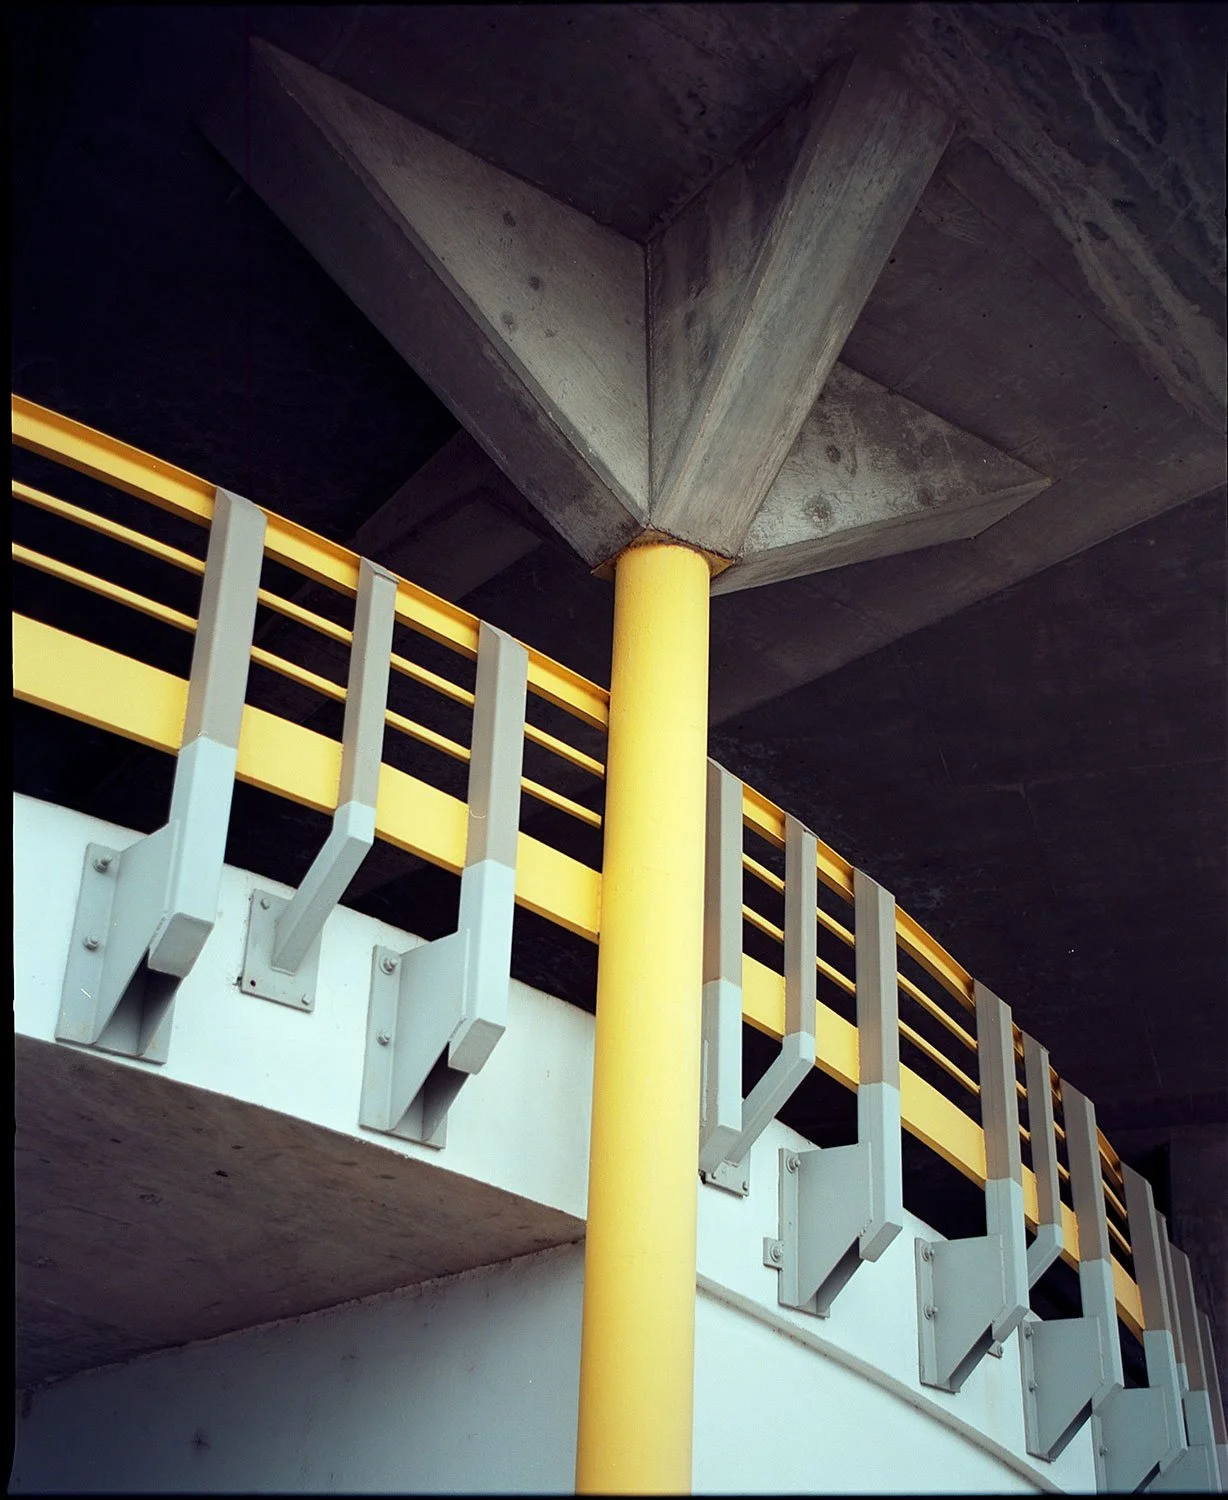
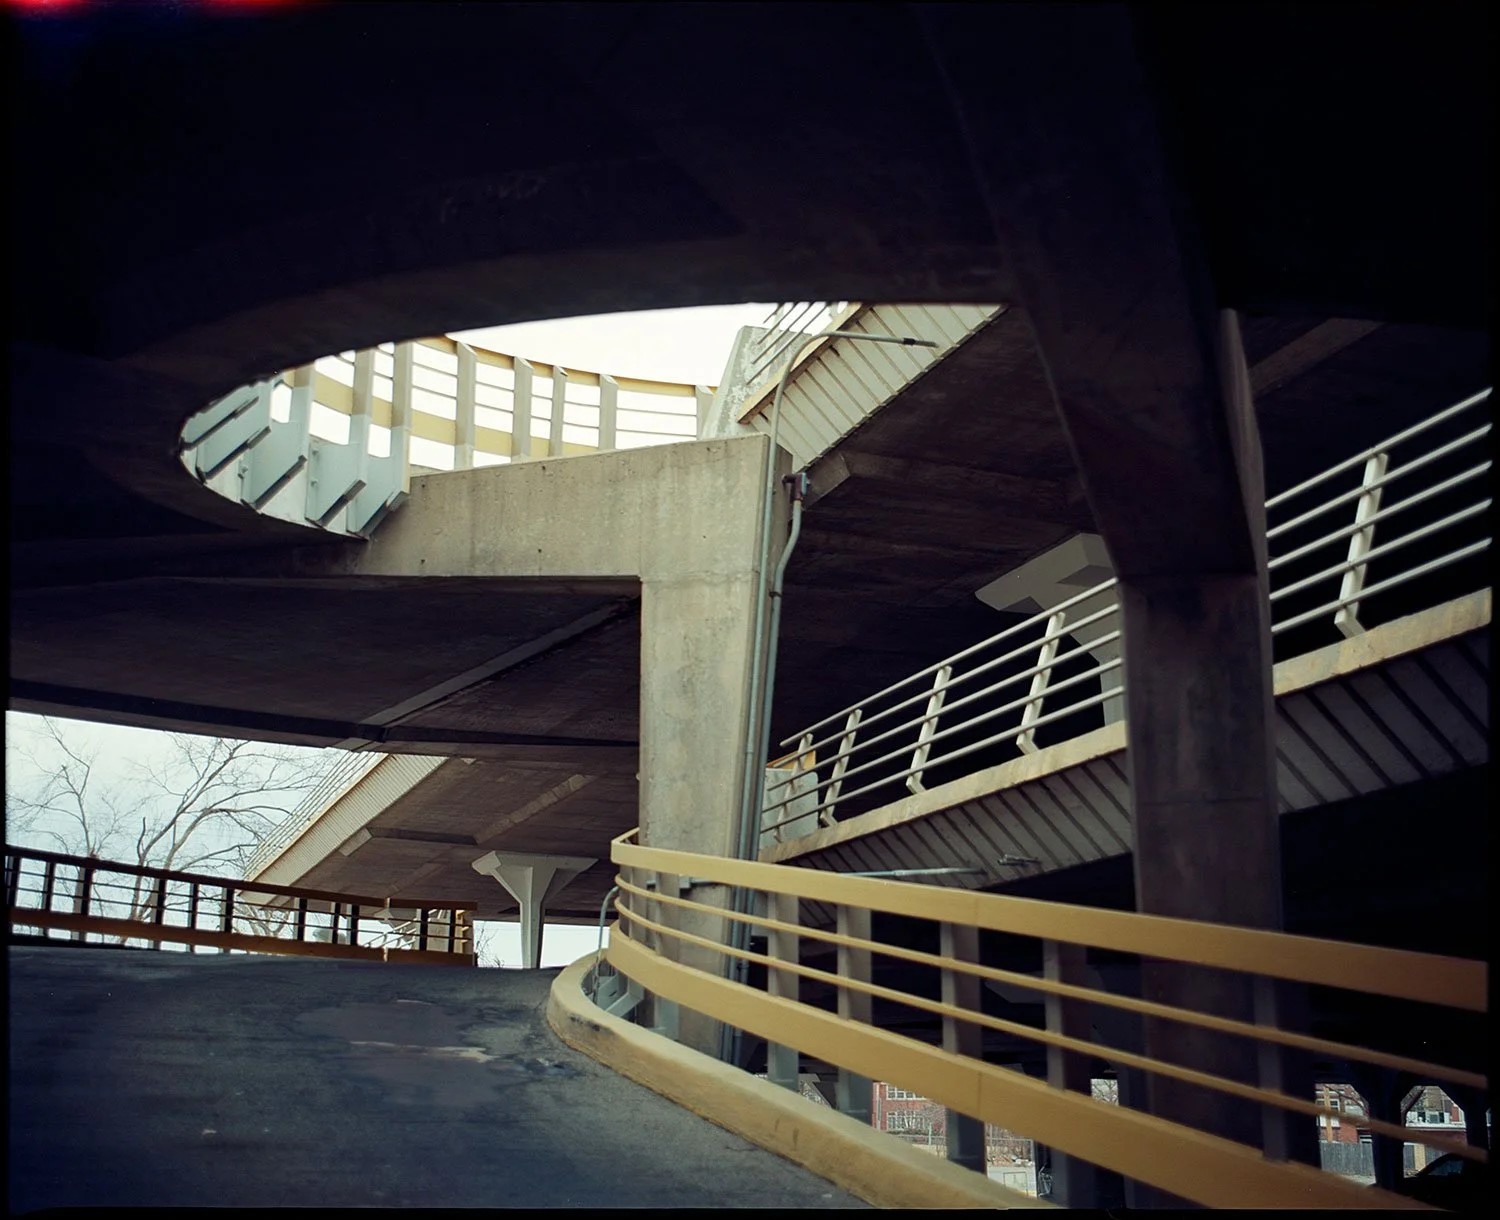
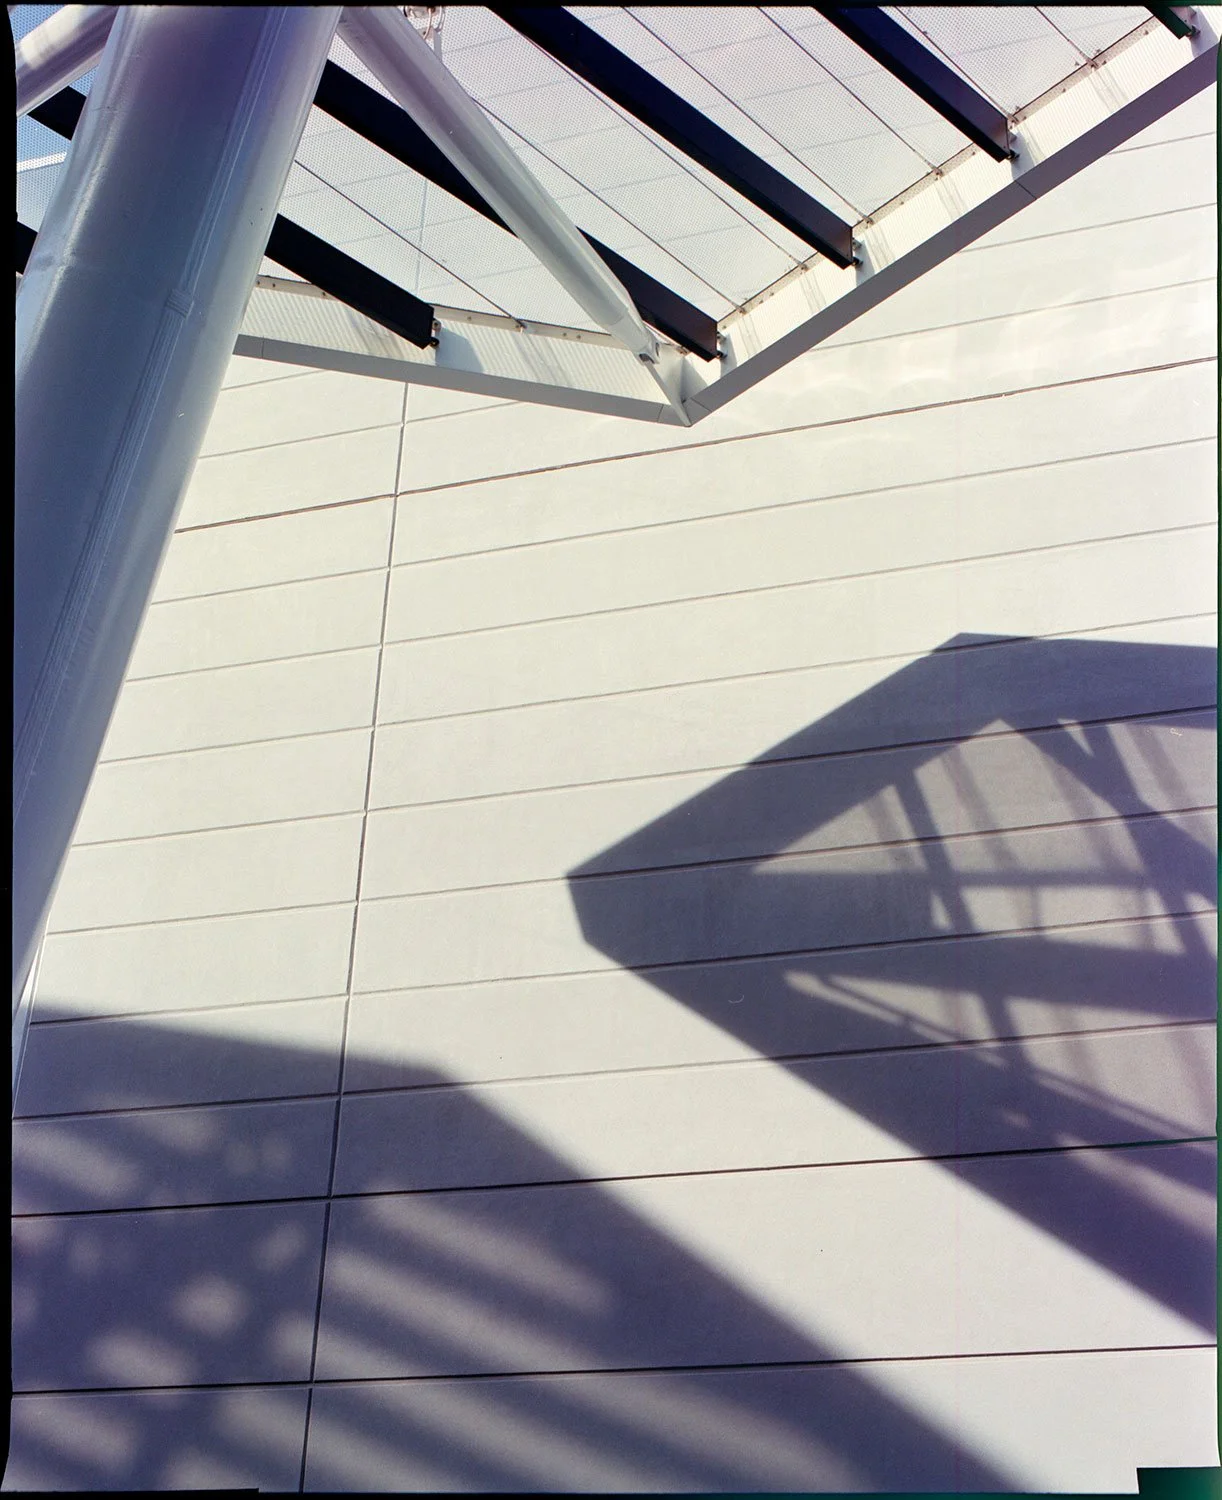
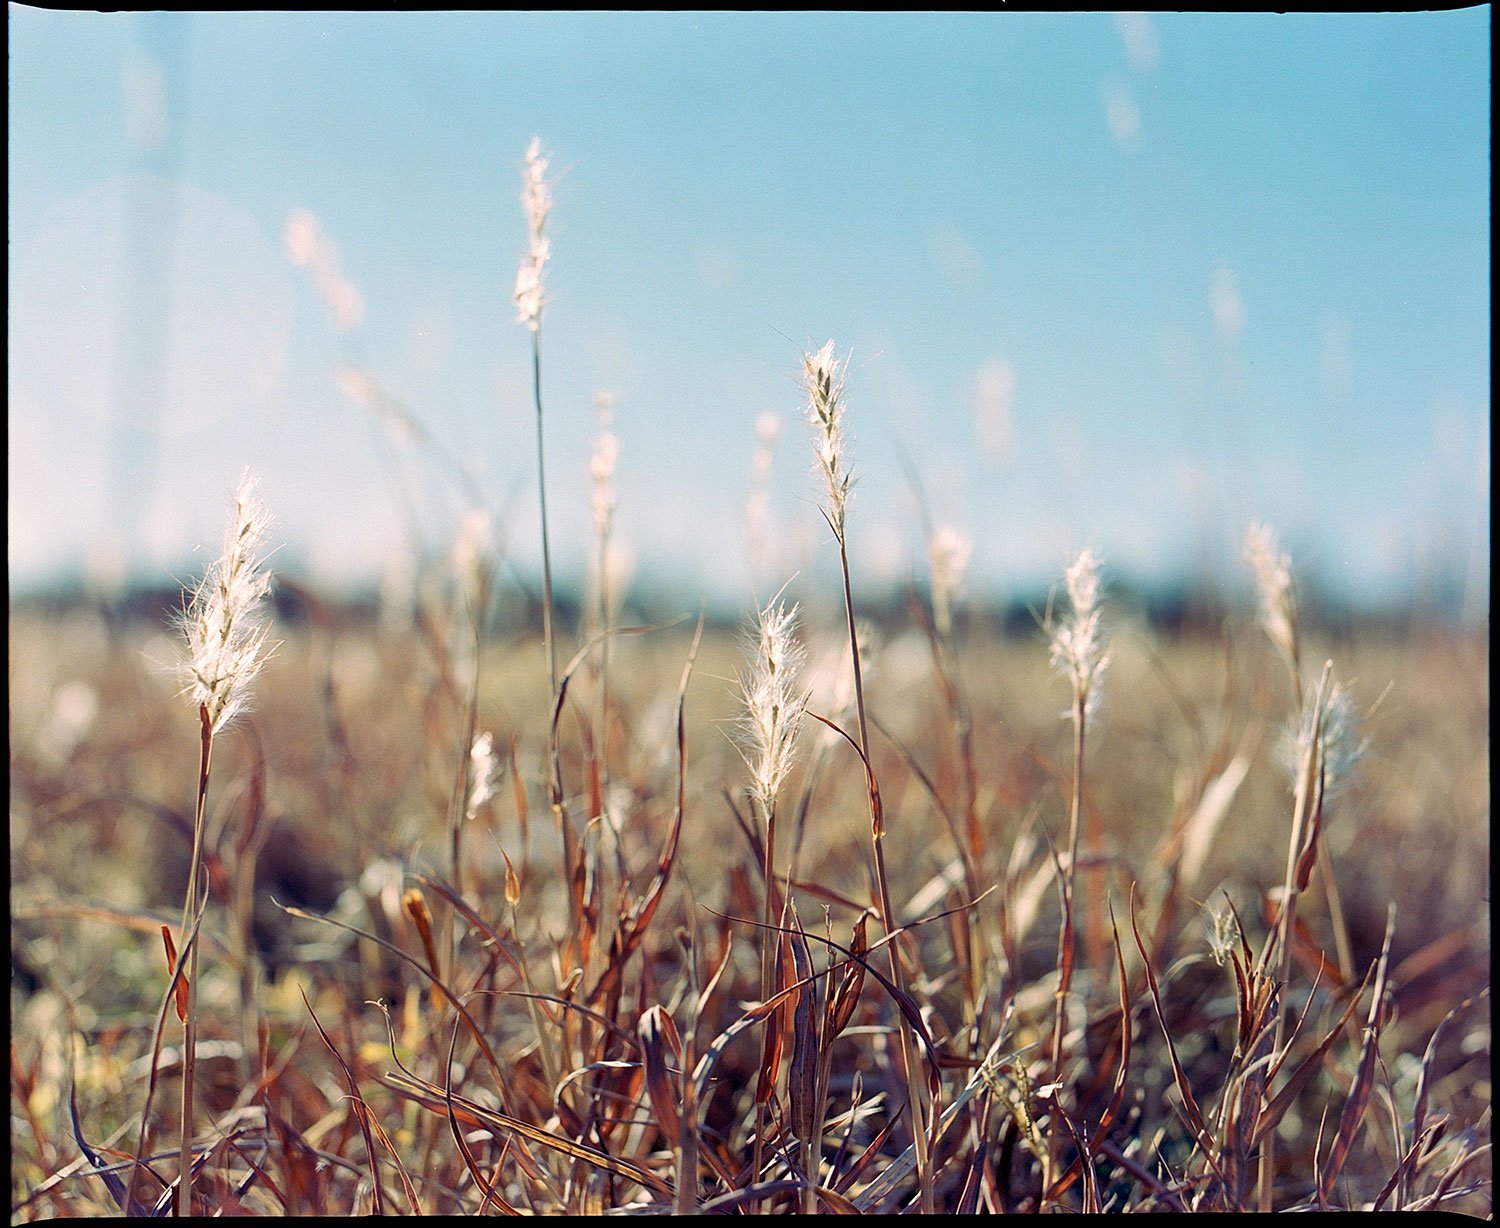
I knew I'd not be getting the same results I'm used to from my digital cameras, but this is something else. This old film camera is making things interesting and I'm crazy impressed with the unpredictability and character of the images I'm getting. There's also this thing of the inherent mood and color that comes along with the film negative compared to digital. There's an annoying camera scratch on my negatives due to something scraping along the negatives in my film back. I've still not figured out what it is, but Photoshop fixes are working till I get the problem solved.
My old-school Mamyia RB67 doesn't have a built in light meter, so in order to figure out exposure I've been using a combination of a handheld light meter and my Canon DSLR. I'll do an initial light reading with my incident meter and then a test shot with my digital camera to help dial settings in. The Sekonic meter I currently have doesn't include a spot meter, so I'm sure I'll upgrade in time.
It's easy to get lost in trying to correct and grade the different images, especially if you're trying to match multiple shots. The time I'm spending scanning my negatives and dialing in the colors to look the way I'm wanting will only help my color correction and grading for paid work.
This dip into the world of film photography has been super interesting to me as a digital cinematographer. Watching how some of the film photographers I've been following expose their images has been refreshing compared to my near reflexive habits and digital workflows. It's wild seeing more and more images from film photographers that I'd normally consider overexposed compared to the dark and moody frames from my cinematography brethren.
Over time all this nonsense will work its way into how I make a living. Even this early on I'd feel much more comfortable approaching the idea of shooting motion film stock. I know St. Anne the Wife and I have had a couple different conversation about some of the money I've pumped into this thing. By no means is it crazy money, but surely it's a much more cost-effective mid-life crisis compared to the spandex clad buddies of mine and their deep dives into road racing.


